Be Enough

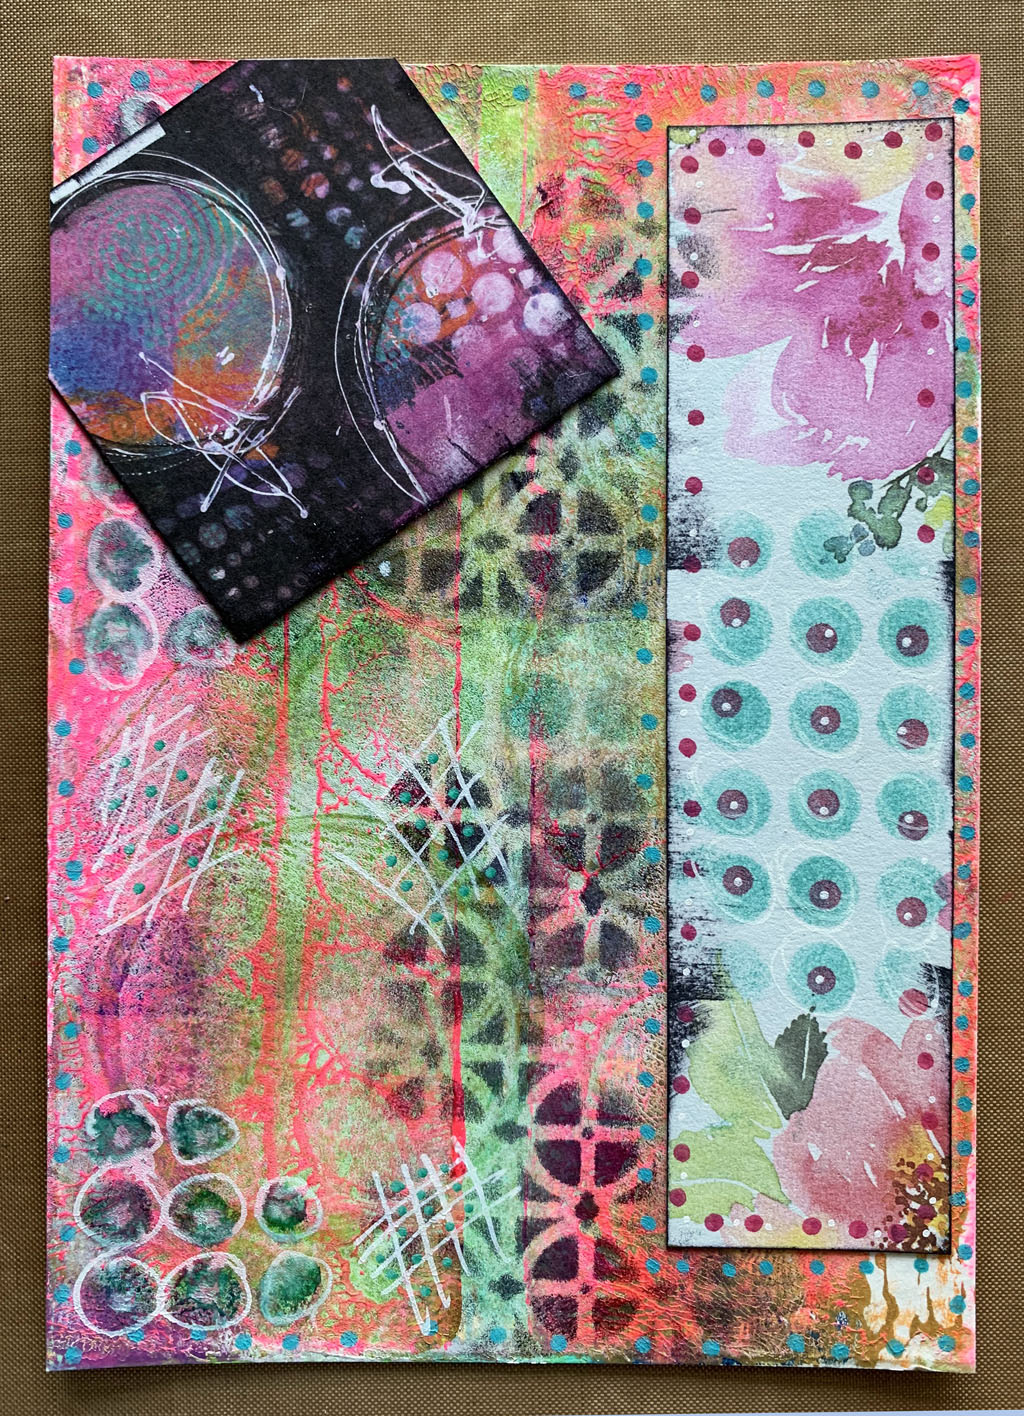
Art journaling. I love to work this way with my art. During the marathon that turned into Life in Tangles, I took a day off just to make art. Today, let's walk through the making of this 5" x 7" page that began with a simple gelli print.

I began by choosing the gelli print I wanted to use for my background, then I pulled out various elements that could work well with the background. That body came from one of Dina Wakley's Collage Collective books. I wanted to build my page around her. I am calling her a 'her' and you can't convince me otherwise. Hahahaha!

I really liked the gelli print as it was but wanted a bit more texture. After glueing that strip of watercolor flower paper in place I pulled out a couple stencils and a couple ink pads. My favorite for things like this are the Dyestress Ink Pads.

Using my dab and stab technique I added texture with the use of two different stencils. Joggles has these little ATC size stencils called Itty Bitty Stencils that I like to use. Inexpensive and they have several different ones that you could look at. Easy to grab and use.

I love these Zig Clean Color Dot markers! See that clear cap on the right end? See that tip on the pen? It's sponge like and you just dot the color straight onto your page. I am guessing the other end has a regular nib but honestly I have not looked yet. Hahahaha! I am just enjoying making dots! Let me show you.

What do you think? Dots add more texture and I tried to stick with colors that worked with all I had going on here. And all I expected to add to this page.

Easy enough add here. I used a white water-based Sharpie Paint Pen. I need to buy another, this one is almost out of ink. For mark making it is pretty much perfect. And I have never had it shoot ink out all over my paper like I have with a few other pens.
See that little block I added? It came from the same Dina Wakley book. I love what she does with mark making and scribbles and color!

And I added my girl in. She does look like a man here, doesn't she? I am going to call it - just a really short hairstyle. Hahahahaha!

I added a couple things here. First, I took one of my colorful ATC blocks I've worked on in the past and cut it in half, then adhered them stacked on the bottom. Next I added the Be Devoted block from the same Dina Wakley book - torn in half and attached. Inked the edges of all those pieces with black Archival ink first, then ran them through the sticker machine.

I took my cue from those final words on the Be Devoted block and wrote enough all along the edges.
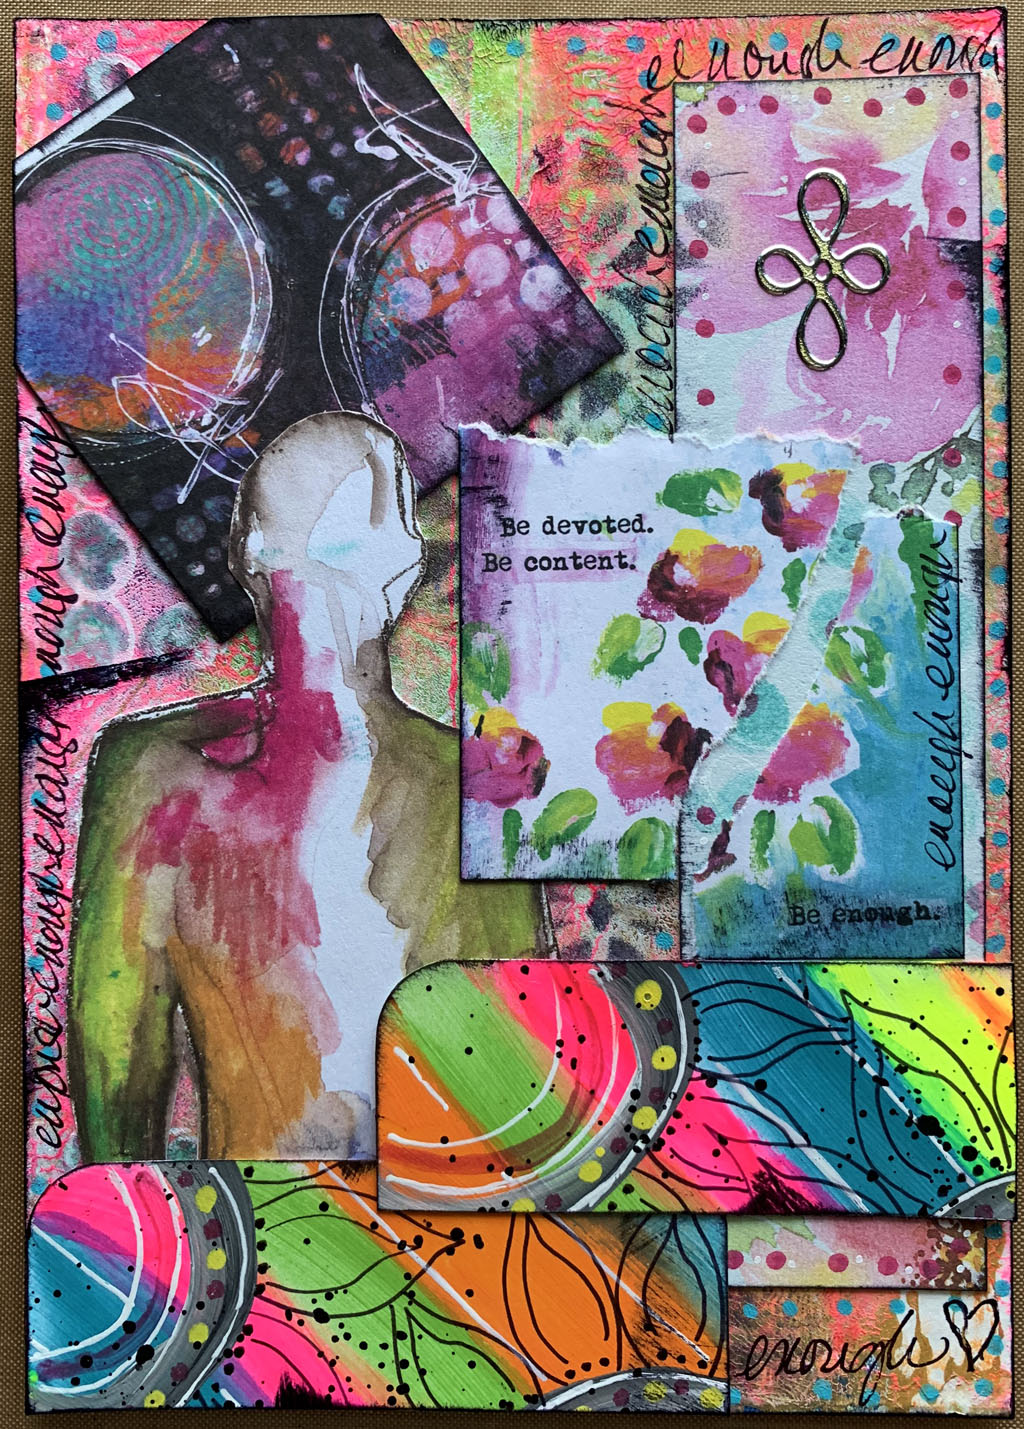
That top floral area needed something, so I added an outline sticker from Kracy Kreations. Last, I inked all around the outside of the journal page with black ink and called it done. Art journaling is a lot of fun and you can use literally any media you want. This particular page was made for a swap and has been sent on to its new home in Georgia. I hope she loves it!


Fascinating to see how the whole piece comes alive when you add that black square block with Dina Wakley's markmaking on it. The black part of your stencilled pattern & then the outlining & edge inking pulls the whole together, as does the inked edges & black outlining plus the tangled flower on the ATC. The rounded ATC corners echoes all the circular/dot elements going on too. Had to chuckle when I saw the triangle that the yellow colour areas make (you didn't do that on purpose??? it's a recognised design principle!)
ReplyDeleteno, not intentional. hahahaha! but I like it :)
Delete