Painting Gel Prints With ZenART Brushes
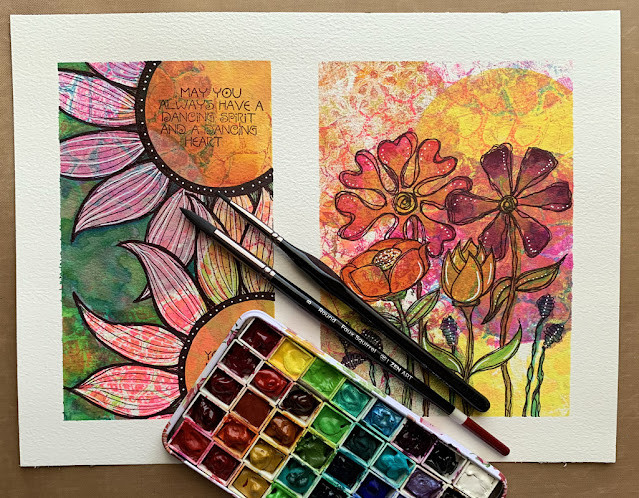
There is a whole lot of great going on in this post today! And there are a load of photos! The paper you see is The Collection from Hahnemühle. It is their new game in town paper and I love it! The background was made with a 4" round gel printing plate from Gelli Arts! All painting was completed using a couple different brushes from ZenART. Let's just jump right in and get started.
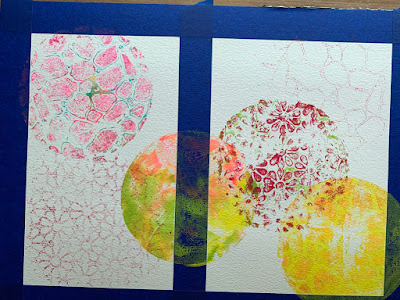
The Collection comes in hot, cold and rough. I chose the cold pressed watercolor paper for this piece. It comes ten sheets to the block and they are 9.4" x 12.6" in size. Using a 1" painters tape I roughly divided my page into two equal painting areas. Hahaha! Look at that center line! Not in the middle at all. Hahahahaha!
Gelli Arts was so kind to send me a few of these 4" round gel printing plates to use for giveaways in Tangle All Around. I thought the plate would make an interesting background to paint on so I brought mine out of the drawer along with my 2" brayer. It is my favorite!
For this project I brought out my Dina Wakley Acrylic Paints and just squeezed out a drop of three colors. This plate is small and doesn't need a lot of paint.
Nothing fancy in this print. I just brayered out the color and stamped it right down onto my paper. Stamped? Yes. I have a 6" x 8" thin acrylic block that I placed the gel plate onto. That way I can just stamp the print and put it exactly where I want it on my paper.
You can see how it turned out here. I used a stencil to make the print in the upper corner. The gel plate here shows the color remaining after I lifted away the stencil.
After stamping that print in the upper left corner - I did not clean the plate. You can still see the faint pink spots. I added a drop of yellow and rolled it out in a light layer across the plate. Right on top of that pink.
And I stamped it right there in the bottom.
Again - don't clean off the plate. I placed a cute stencil on the plate, then rolled a layer of bright pink over the whole thing.
I lifted the stencil away. You can see that there would still be paint on the stencil. I don't like wasting product, so I turned the stencil over and placed it onto my paper. I used a clean brayer to roll over the stencil hoping the color would adhere to my paper.
And it worked decently. I already knew I was going to paint over this whole page and I knew from experience that this section of flowers was going to look great!
But what about my gelli plate? Remember we had a light layer of yellow already on the plate. To that I added the stencil and a layer of pink. When I removed the stencil this is what I had on my plate. Love it!
I took the plate and stamped it right onto my page.
But I didn't press hard enough to get the whole print. Booooo! But it happens. Even to me.
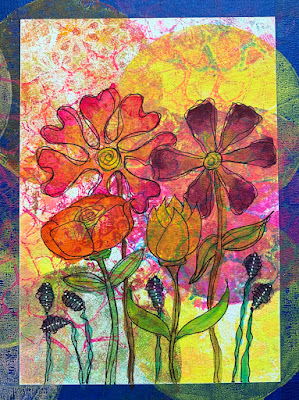
I kept printing until the entire page was covered in pretty.
Using an ultra fine Sharpie I drew my florals. They include tangles: Lucy, goose and weave.


As always fascinating to see & follow through the logic of your process, especially with your detailed explanations of what happens when things go not quite to plan & what you do to make adjustments/take advantage of the opportunity.
ReplyDeleteA lot of what I know I learned by making mistakes. Just like it is in life.
Delete